Omnidirectional Force Feedback
Odometry System
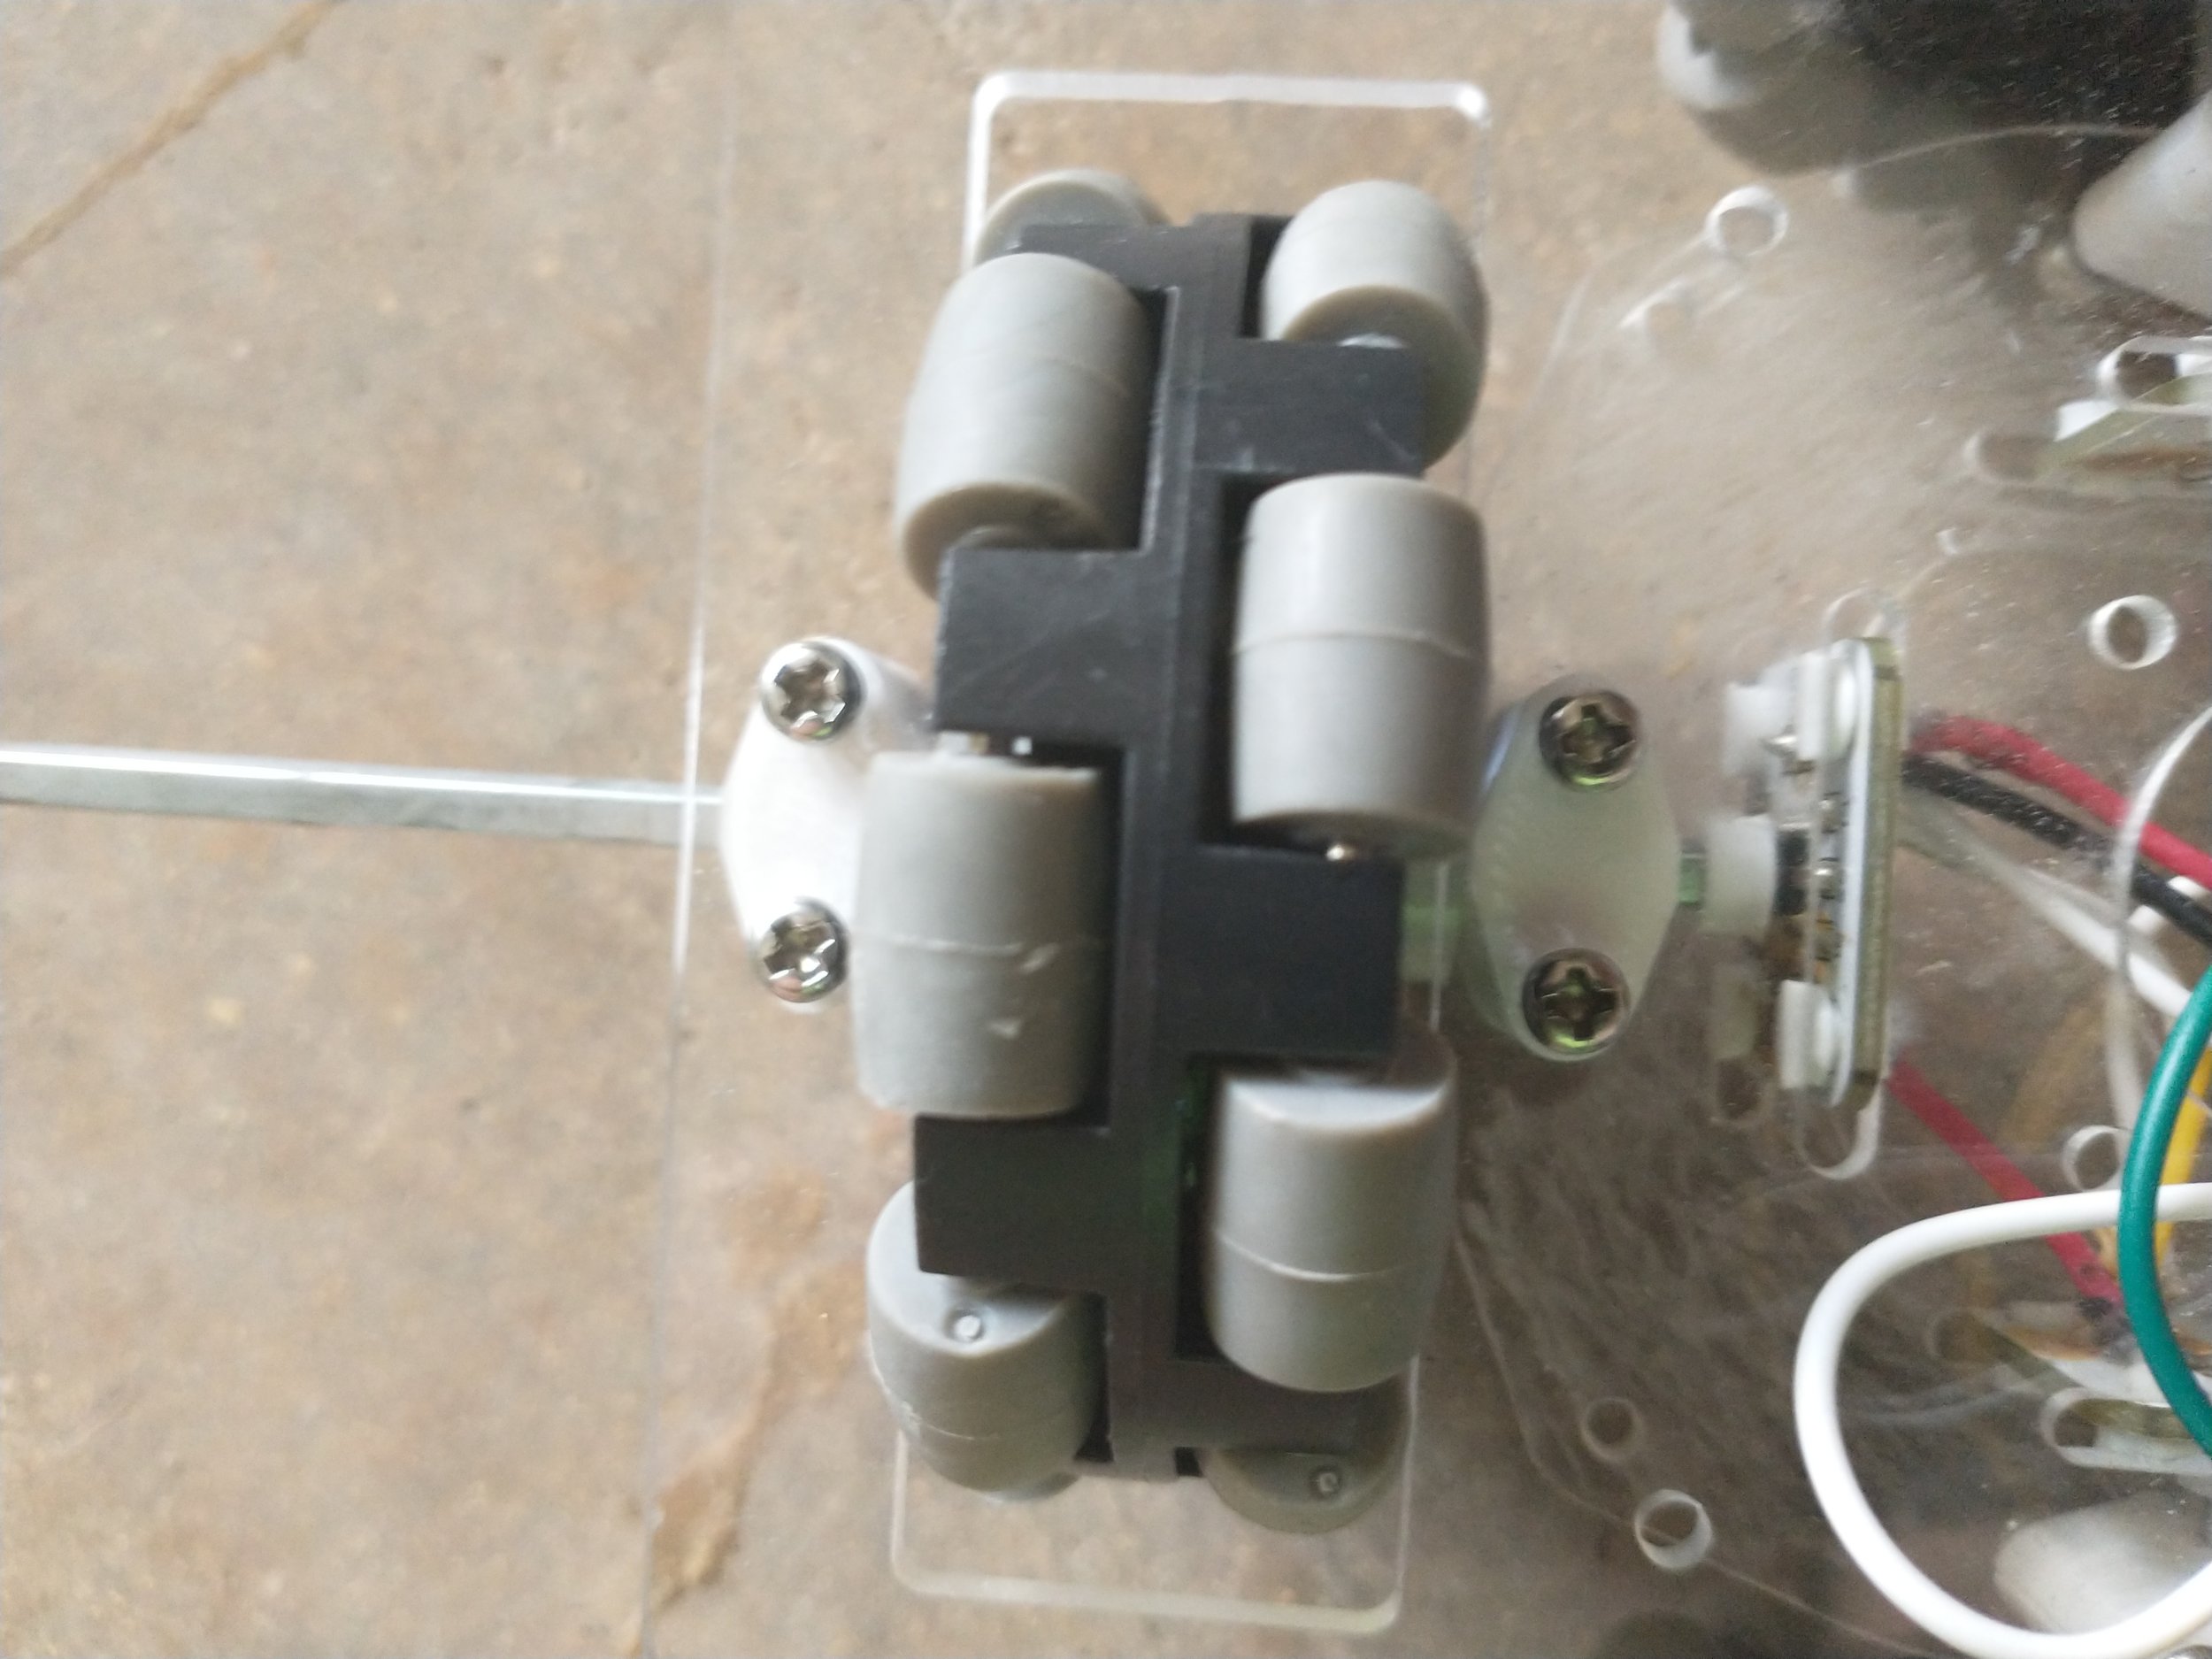
I had previously used odometry in Vex robotics and thought this would be a great way to calculate where my new robot was relative to the surroundings. I connected 4 omnidirectional wheels to magnetic encoders and a small microcontroller. This configuration allowed me to use the sensor data to calculate with trigonometry where the robot was located in the x and y direction. I used odometry to do continuous onboard position calculations to tell the robot, for example, to go forward 5 inches and then read if it had completed that task. I have used distance sensors in the past, but found that odometry was a more reliable positioning system. All plastic parts were custom designed by me in Fusion and either 3D printed or CNC cut out by me. I am planning to enter this design in the next South Carolina science fair and to develop a research paper on the design and program.

Sensor Array for Rocket System
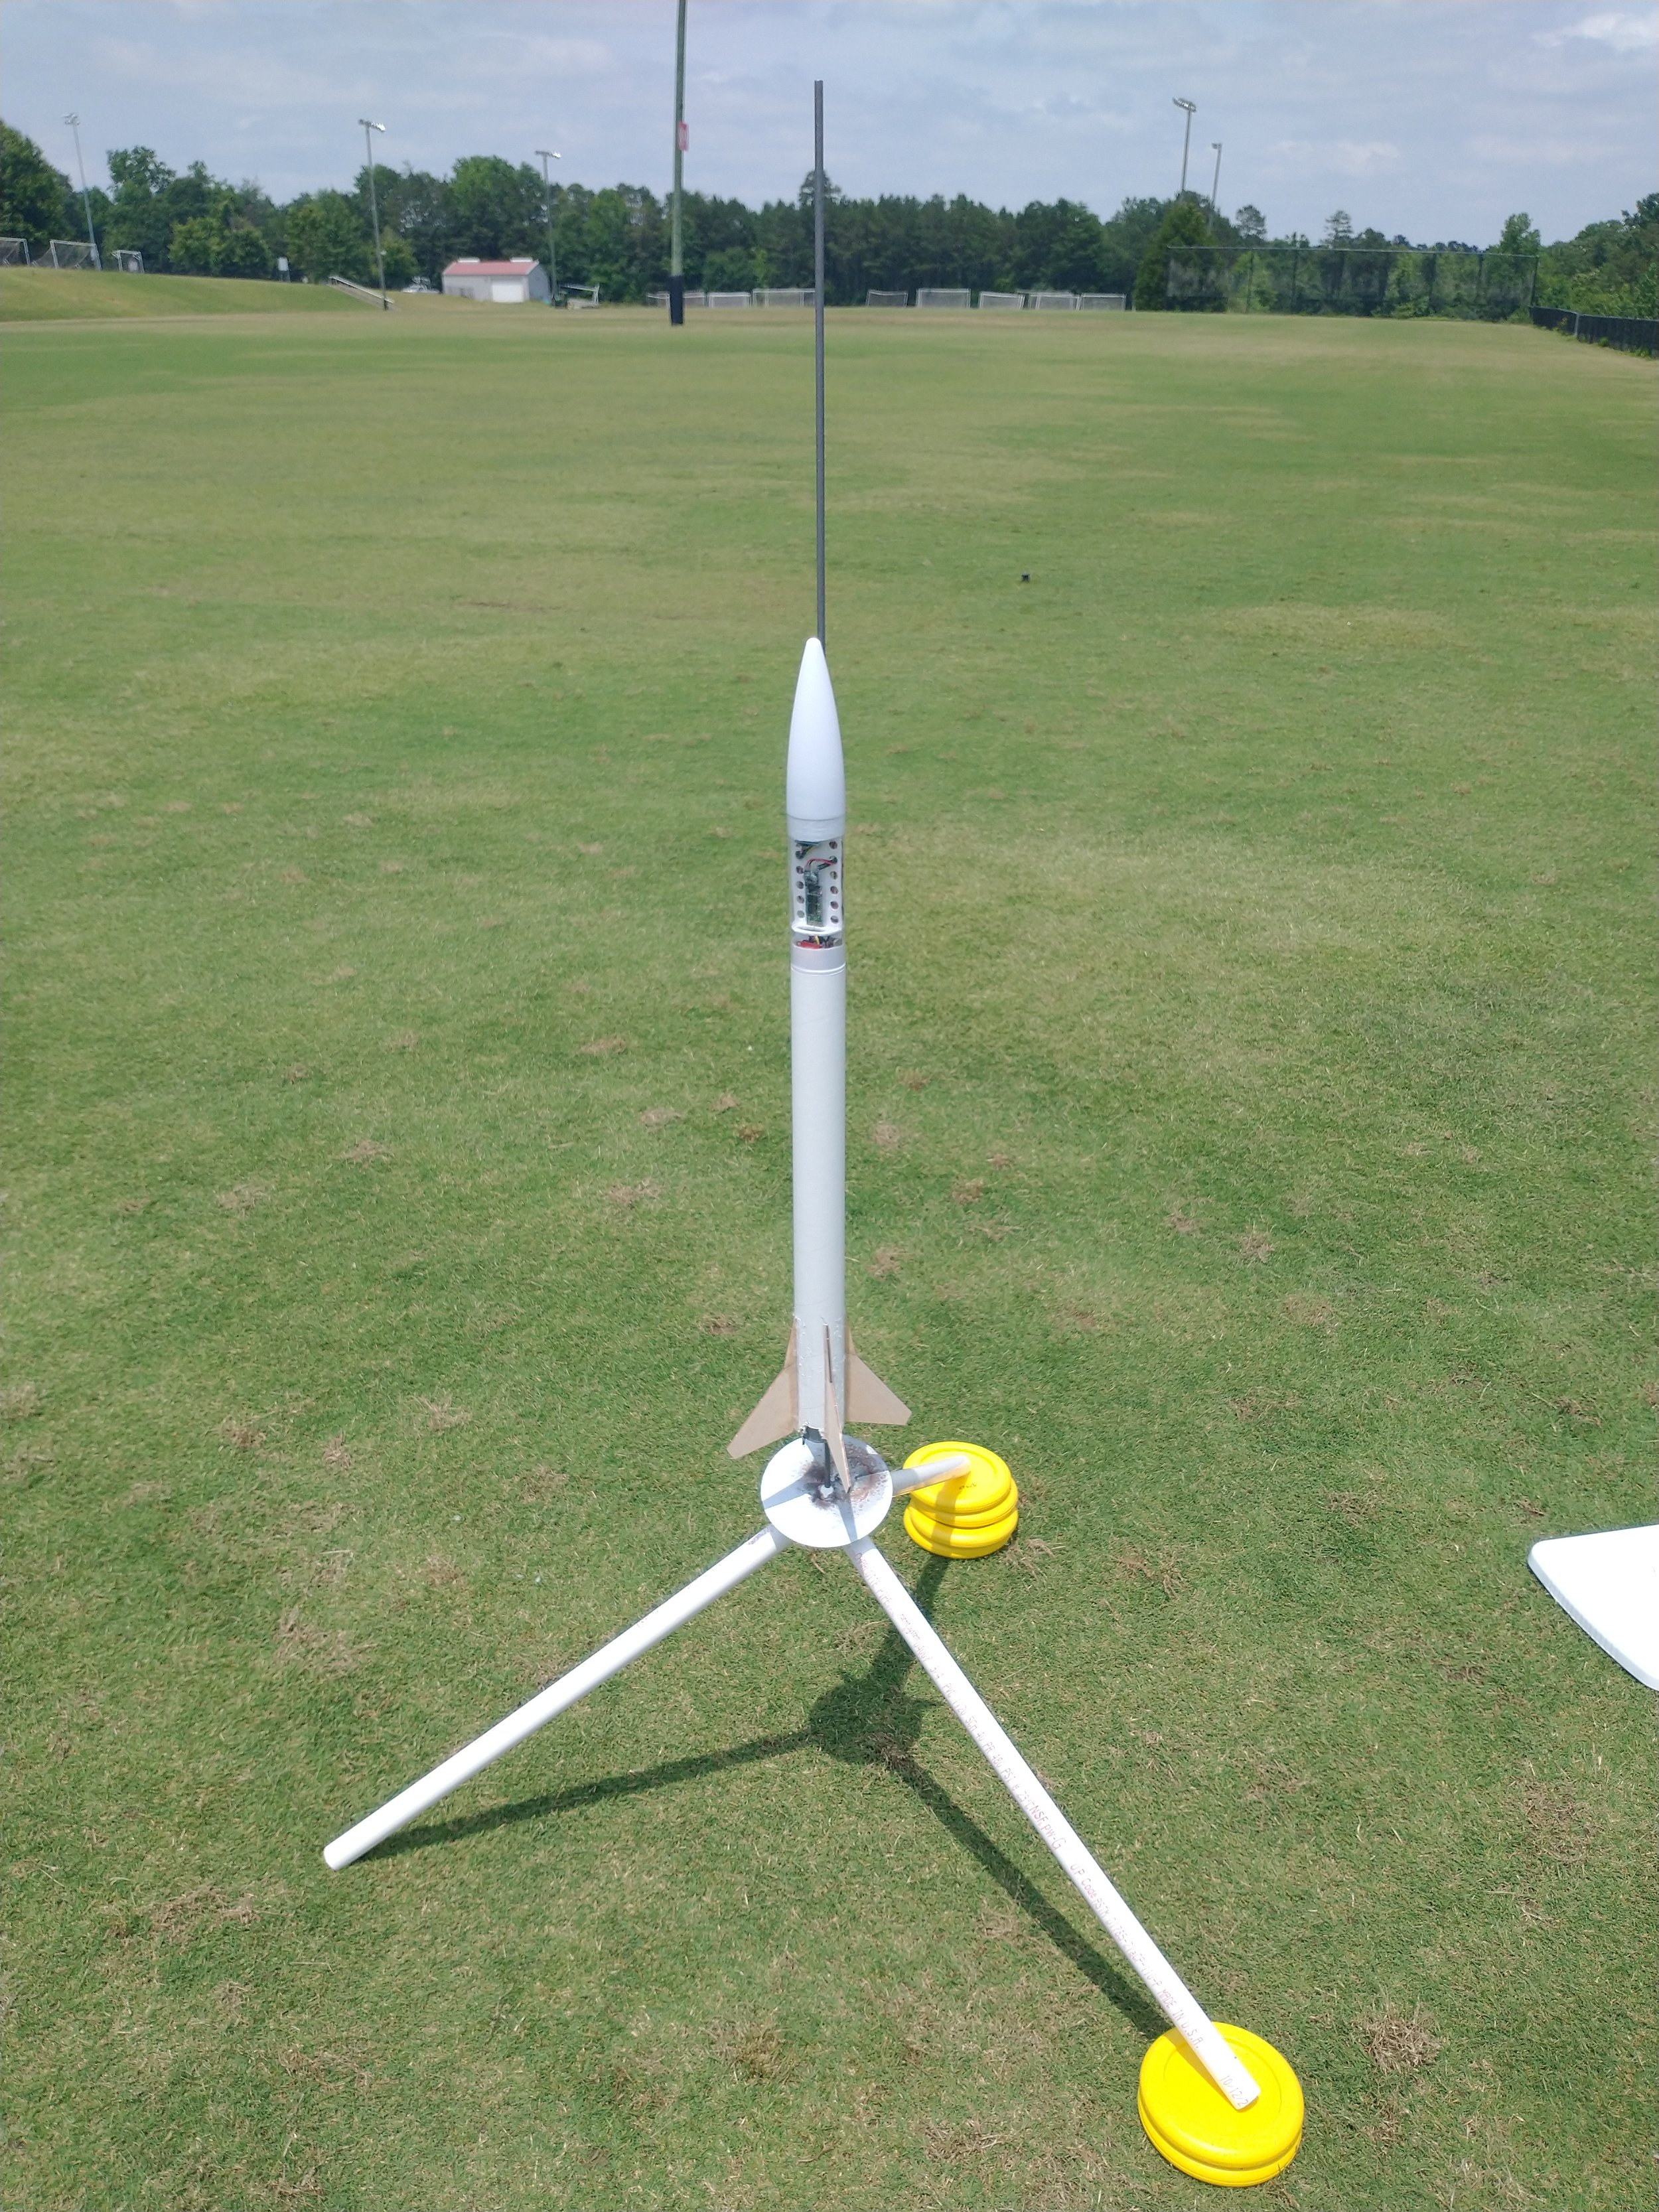
I wanted to know how high my rocket could traverse the sky, so I developed a payload to get the height and acceleration of the launch. I built the nosecone for a powerful model rocket and created a custom design to interface with a custom app. I used Fusion to CAD the internal structure then 3D printed it. I researched the sensors that I needed and purchased them from a supplier. I assembled and soldered the wiring. I programmed a customer program to record all the flight data. I also created a remote liftoff app for my phone to launch the rocket without being near it. I took it to the launch site and remotely launched the rocket off from my phone while the sensors and Arduino Nano collected flight data. This was a lot of fun!!!
Robot Base
This is the most recent robot that I am developing that is capable of going 10 mph while being controlled by an Xbox remote. It runs off of a Raspberry Pi as the central processor and has smaller Arduinos to handle the analog sensors and components. It is 2ft x 2ft x 1ft currently. I developed a belted gear ratio to reduce the speed from the high powered and super fast electric motors. This will be the base of many future projects, as I plan to add my omnidirectional force feedback system to the middle of the robot for positioning and to have a mount system added to the top for robotic arms and or other items. I plan to increase the size of the wheels for outdoor use. I might even design a Big Hero Six Beta Max structure on top of this. There are many options for ways to customize and evolve this robot.

Electronics Test Stand
I developed a Test Stand to test devices and gearing reduction systems before taking the systems to the Robot base. I’m using the test stand to reduce rework time and allow for easy prototyping of the system before applying it to the full robot. The base is 20-20 aluminum. The added items are E Stop Button to shut down the power quickly. The power source is from an old PC with a mini screen for a mounted Raspberry Pi. All mounts, brackets and mounting plates are 3D printed or CNC cut, and are my personal designs from Autocad Fusion.
Skycam Wire Pulley System
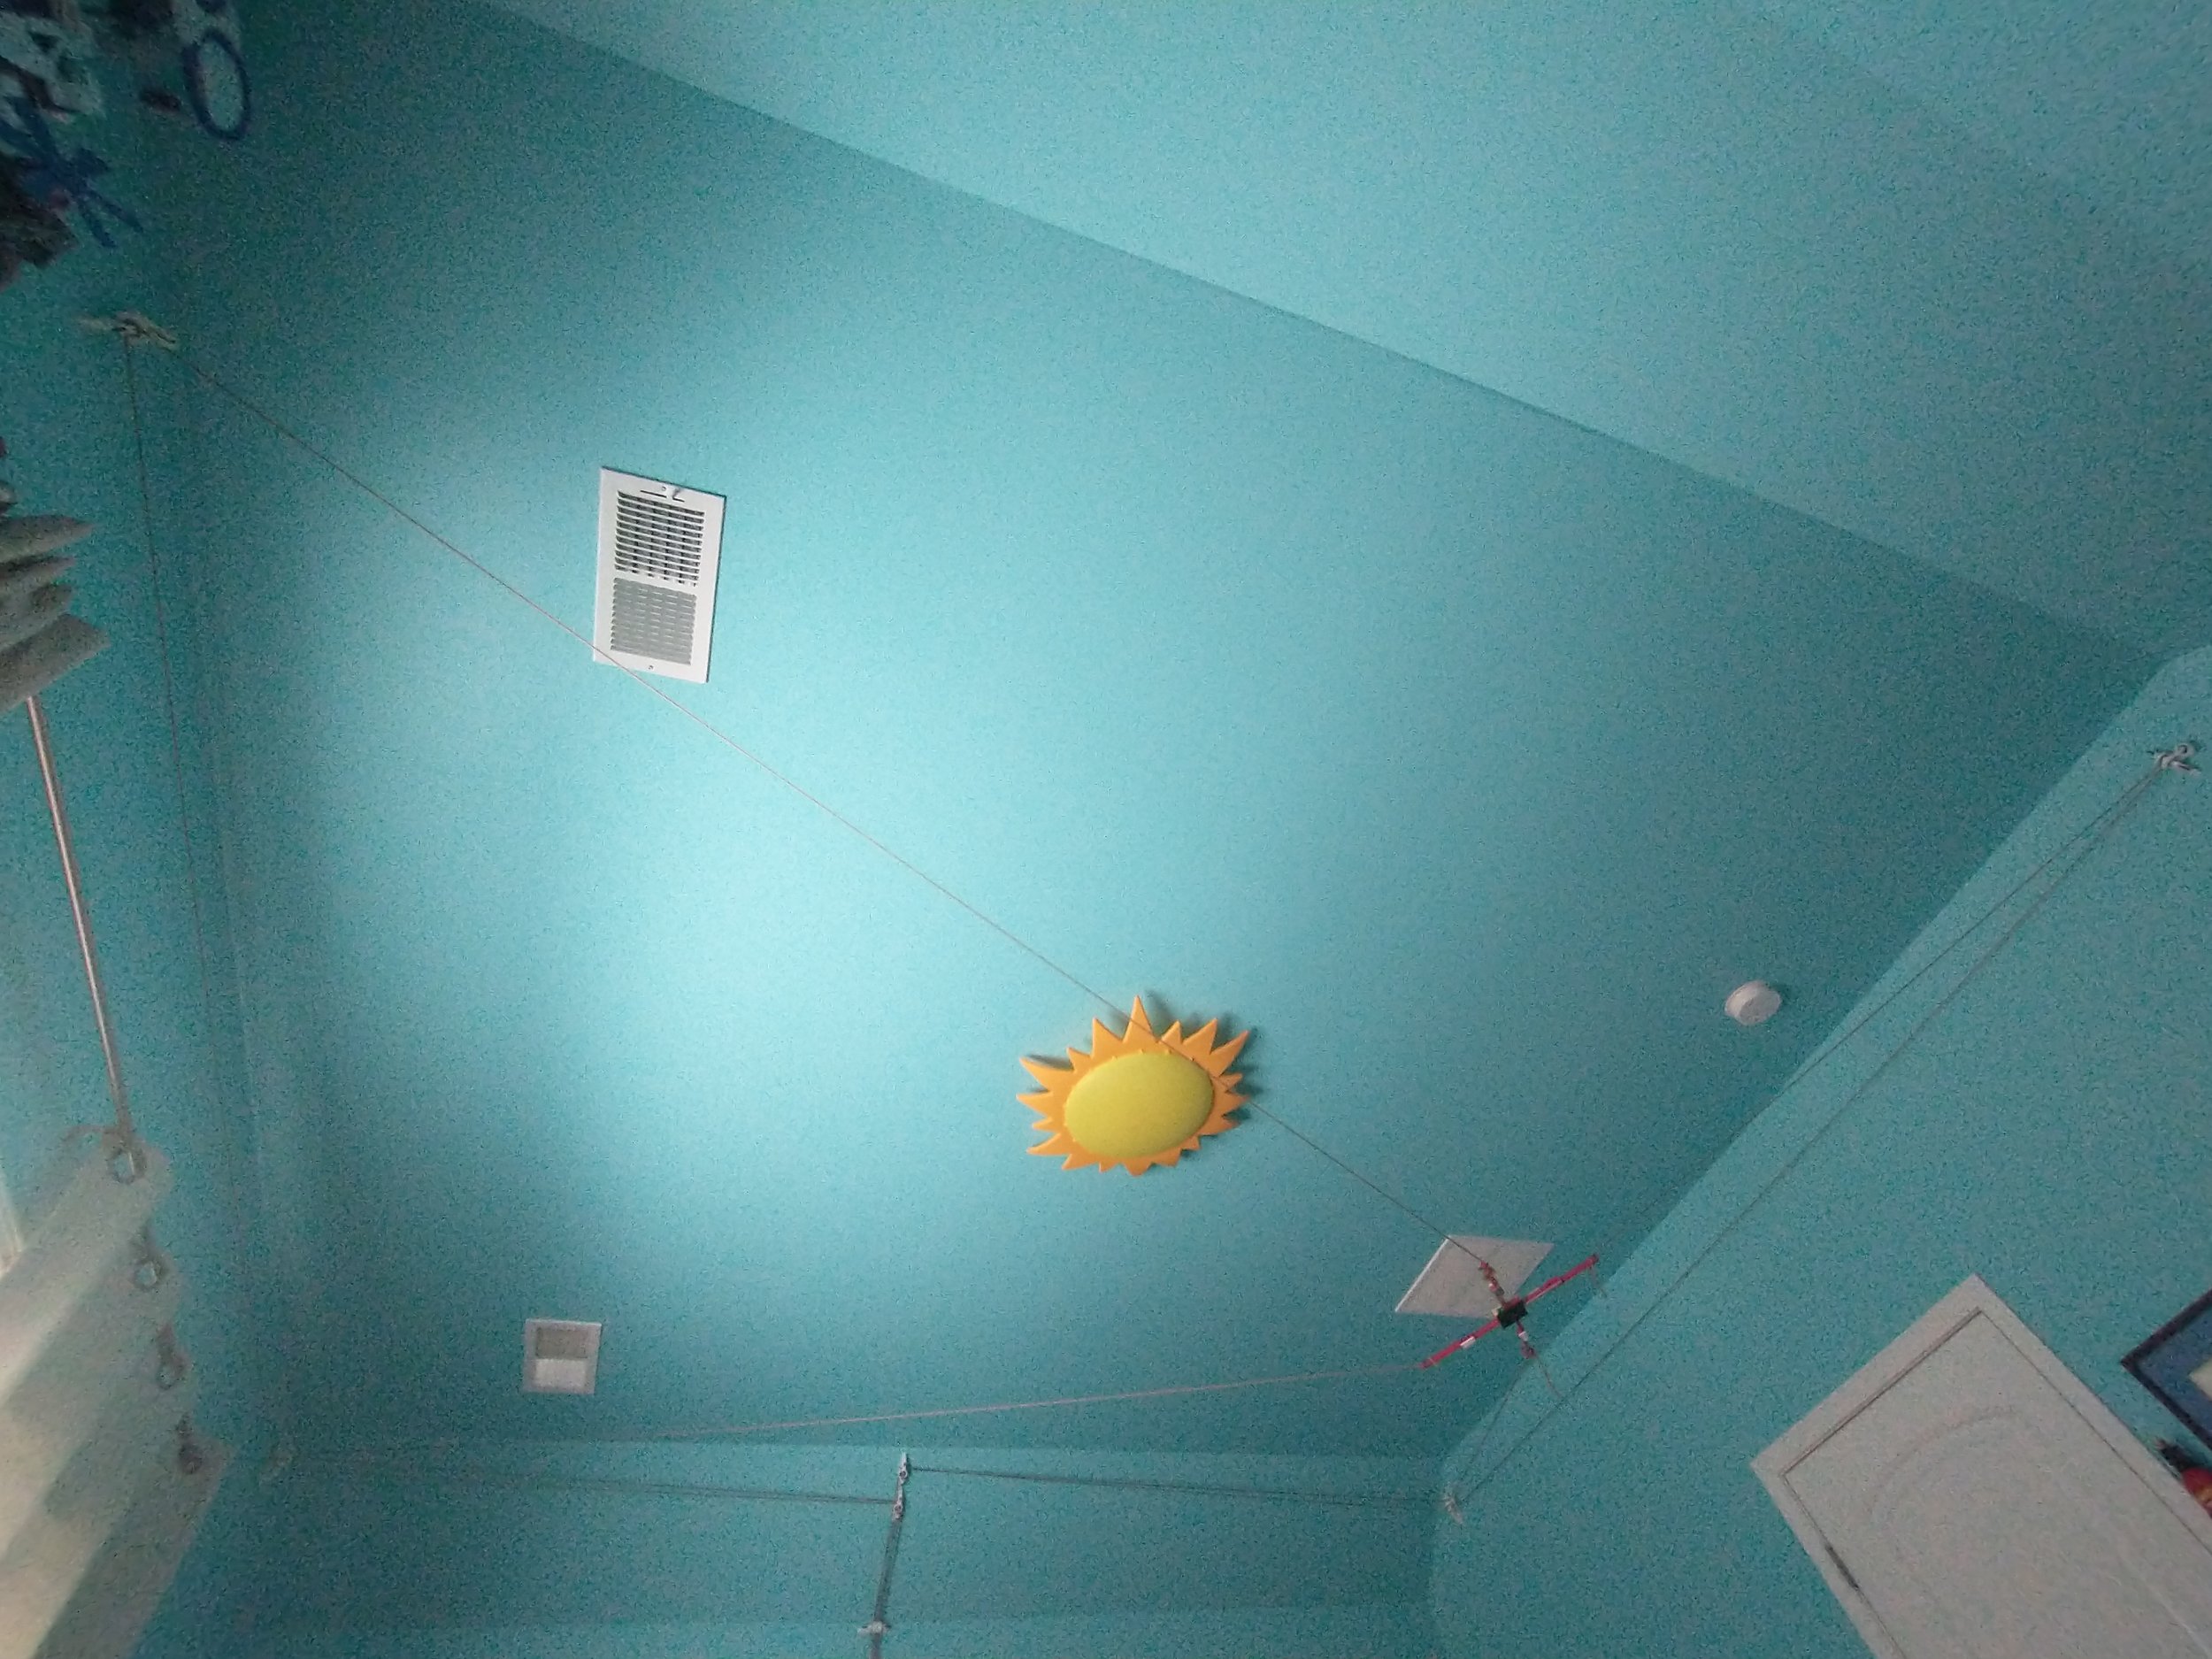
This robot is based off a skycam system used for sporting events. My high school was in need of a skycam and I wanted to see If I could make a prototype in my room. I made it to go around my room and work from a centralized motor array with the pulleys that allowed me to be able to sit in my seat and get a water delivered to me. It uses 1 electric Vex motor per cable.

Earthquake Test Rig for Kids Camp
I 3D Designed an earthquake test rig using Autodesk Fusion 360, printed custom parts with a 3D Printer, and wired a motor to a variable speed controller. This was used to test the small tower structures and to validate kid made designs at a science based summer camp. The campers and the camp teacher appreciated the device. I learned how to create 3D print holes for nut and bolt assembly with this project.
Light Wall
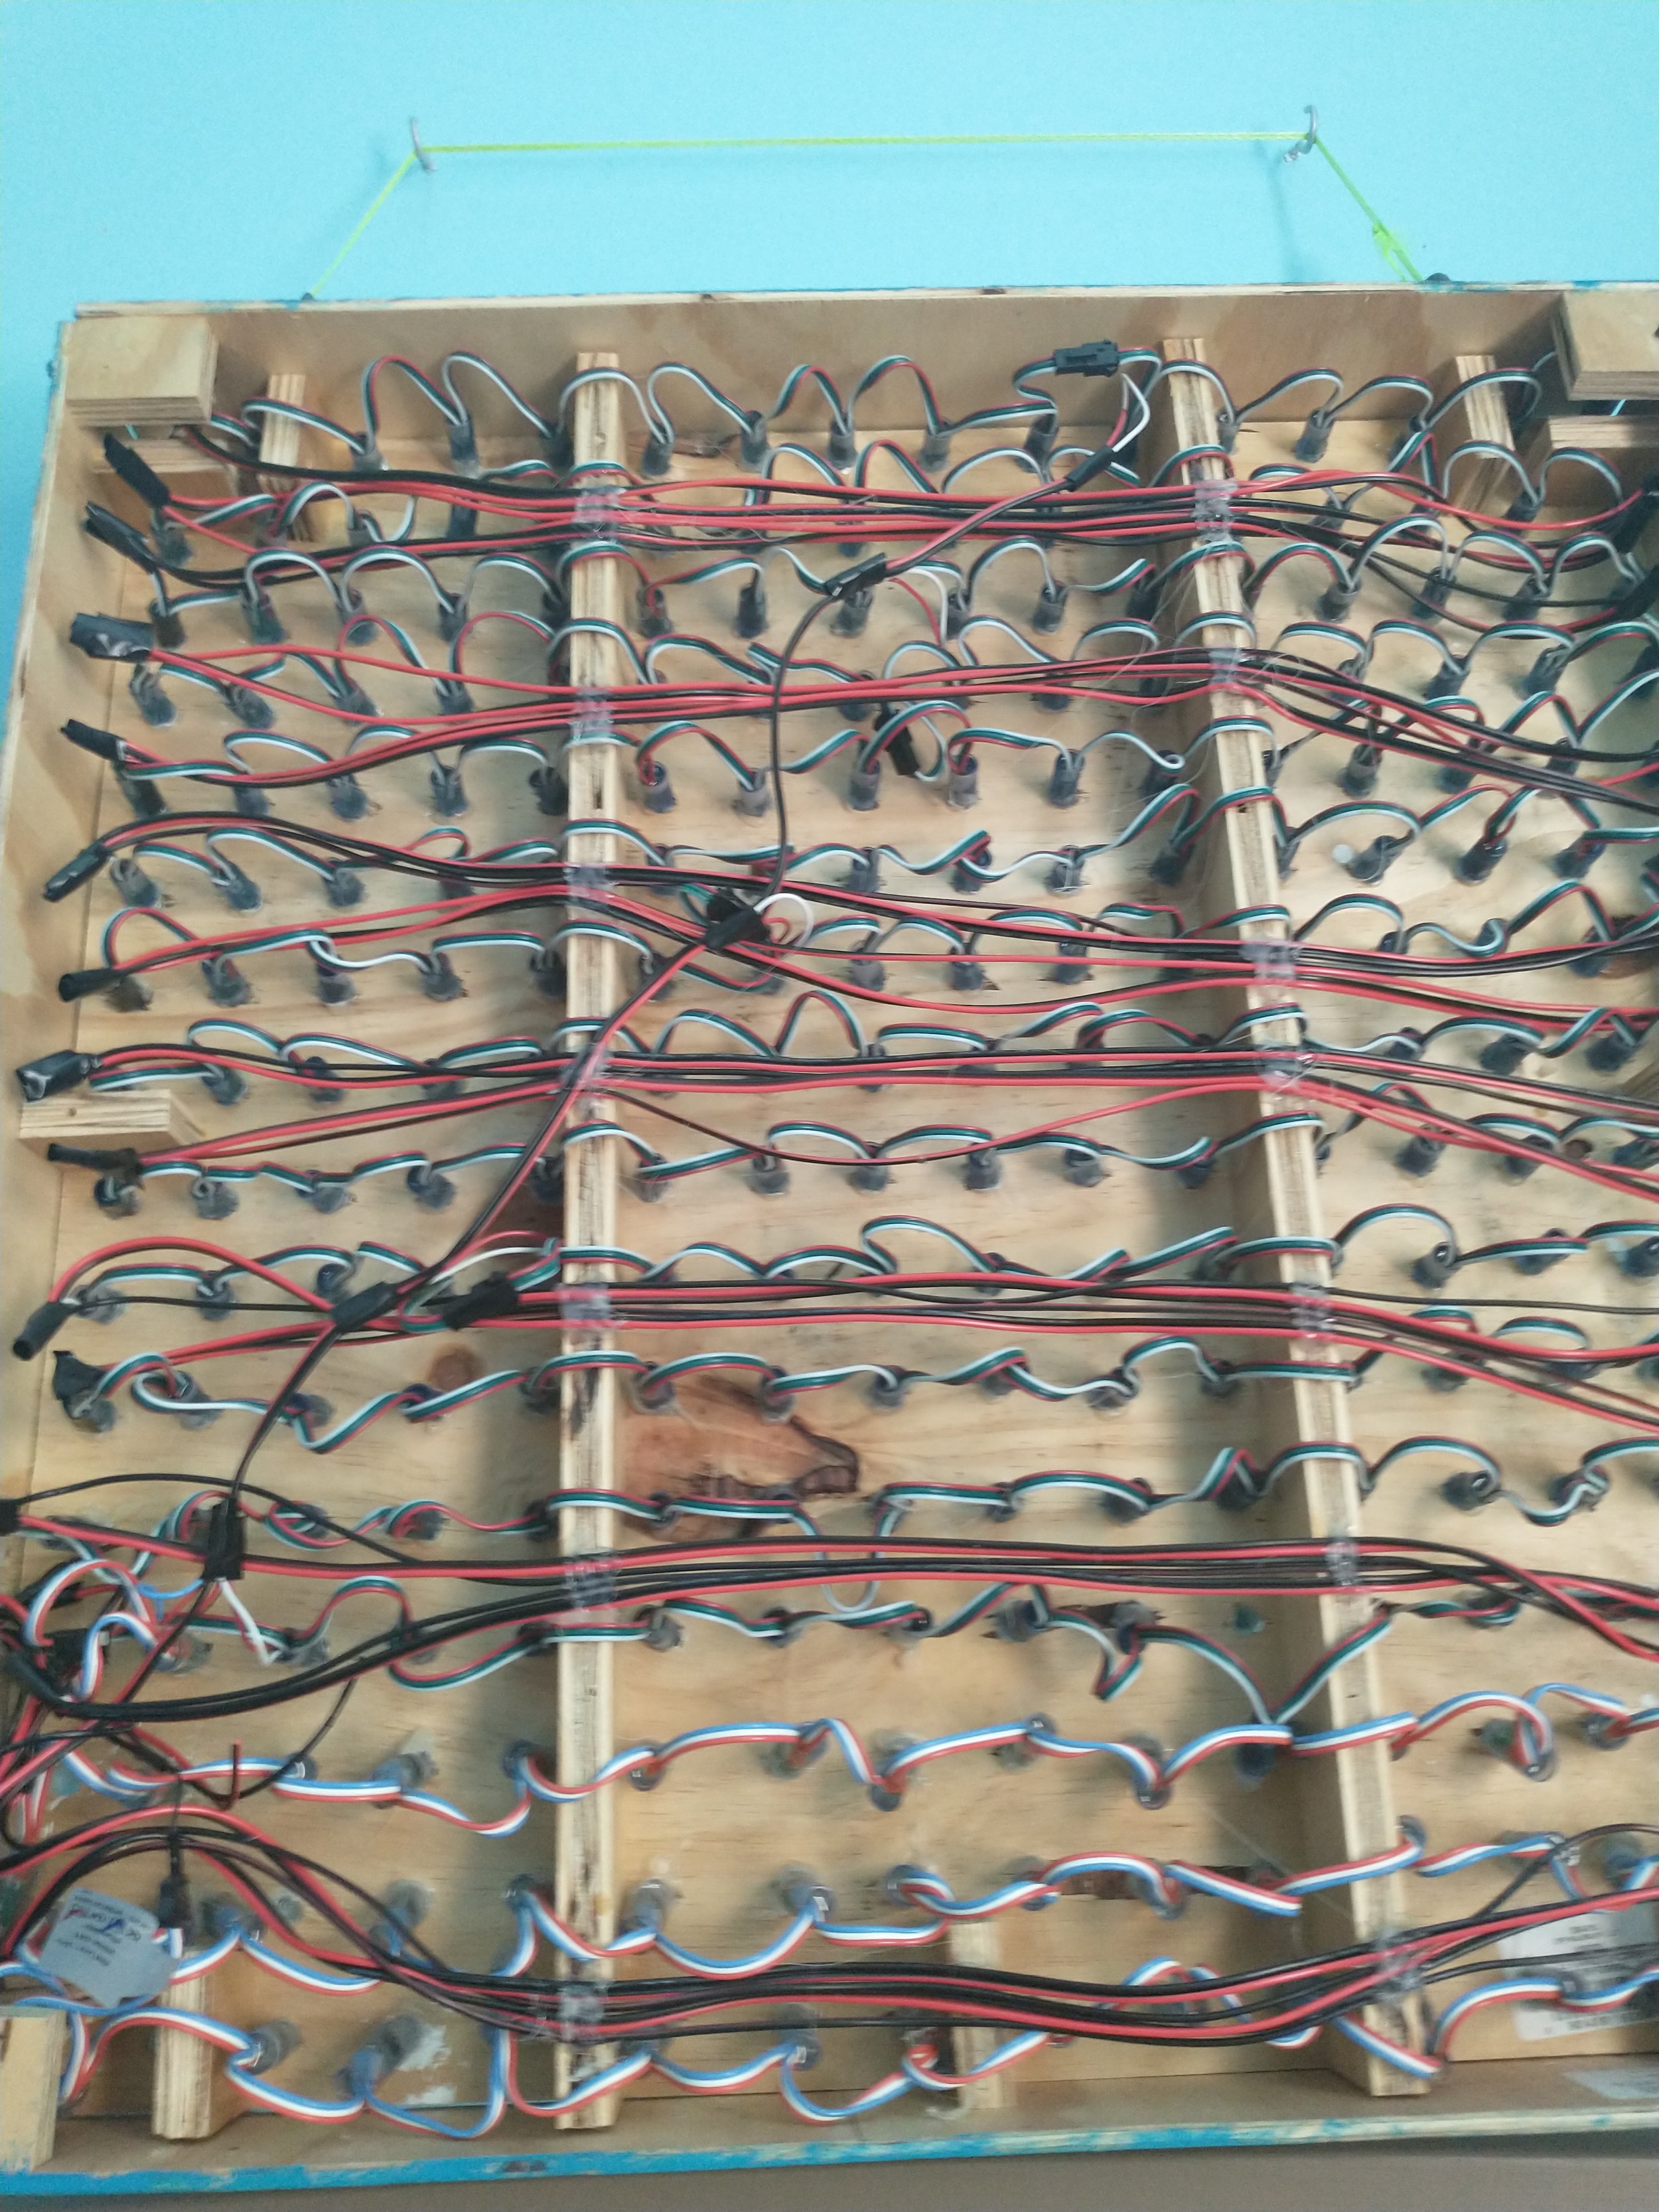
This project was completed 4 years ago while I was in middle school. I developed this to show my middle school logo on the light board during pandemic Virtual School. It is a 16x16 pixel LED wall (3ft x3ft) of neopixel LEDS that connect to a computer to display images. It was programmed to present images, logos, moving Mario, and text banners. My classmates and virtual teachers loved it. I learned how to combine woodwork with electronics during this project.


